Cracks in Your Lime Finish?
Don't Panic – Here's an Easy Fix
As spring approaches, many of us turn our attention to external and internal plastering projects. Whether you’re refreshing an old lime render or applying a brand-new lime plaster, there’s one frustrating issue that can crop up: cracks. You might look at a freshly applied lime finish and, to your horror, see it riddled with hairline fractures. Some might call it a plastering disaster, but don’t worry—this is actually a common issue, and better yet, there’s a straightforward fix.
Why do lime plaster cracks appear?

Cracks in lime plaster typically form when the material dries too quickly. This can happen due to:
- Excessive heat or direct sunlight during curing
- Strong airflow or wind speeding up evaporation
- Insufficient dampening of the substrate before application
But even if you do everything correctly, you might still end up with a few hairline cracks—lime simply behaves that way.
Lime plasters rely on a gradual carbonation process to cure correctly. As they dry, some shrinkage occurs, leading to surface fissures. But here’s the good news: if your lime plaster has already set and the cracks have appeared, they won’t necessarily worsen over time. And with the right technique, you can achieve a flawless repair without needing to re-plaster.
The simple and effective fix
This method allows you to seamlessly blend the cracks into the finish, restoring a smooth and durable surface. Here’s what you’ll need:
- A fine, creamy lime mortar (we recommend Rasacol MGN, but any sticky creamy lime mortar will do)
- A damp sponge
- A spray bottle filled with clean water

Rasacol MGN
A flexible, non-cracking lime finish, also used as a breathable adhesive for tiles and insulating boards, thanks to its natural resin content (<3%).
Step-by-Step Repair
1. Dampen the Surface
Using a spray bottle, dampen the surface. This reintroduces moisture and prevents the new lime from drying too quickly.
2. Prepare the Lime Mortar
Your selected lime mortar should have a smooth, sticky, and creamy consistency.
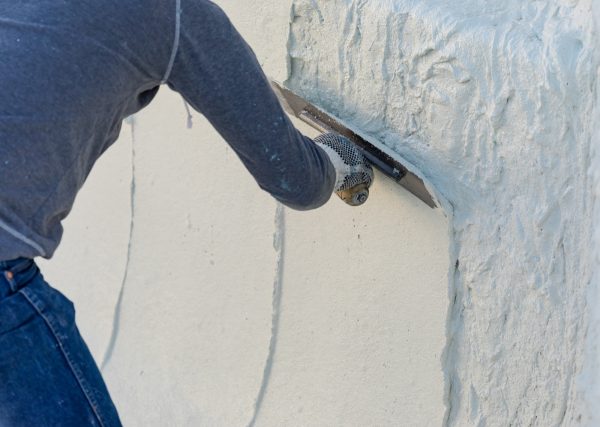
3. Rub the Mortar In
Using a damp sponge, gently rub the lime mortar into the cracks. Work in small circular motions to ensure the material fills every fissure.
4. Wipe Off Any Excess
Once the cracks are filled, wipe away any excess with a clean, slightly damp sponge. Continue cleaning the surface until all leftover grains of sand are removed.
5. Allow to Set
Once set, you can decorate. The cracks will no longer be visible after decoration.
Why This Method Works
Since these cracks are caused by rapid drying and the lime plaster has already set, after filling them using this technique they will not reappear. The lime mortar bonds well to the existing finish, creating a uniform surface.
Preventing Cracks in Future Applications
If you’re planning a lime plastering job, keep these tips in mind:
- Thoroughly wet the substrate to control moisture absorption
- Apply in thin, even coats to prevent excessive shrinkage
- Protect from direct sun and wind using damp hessian or shade netting
- Mist the surface regularly to encourage proper carbonation
Final Thoughts
Cracks in lime plaster may seem alarming, but they’re rarely a major issue. With this simple repair technique, you can restore your finish to its intended beauty while maintaining its breathability and durability.
If you’re considering external rendering, you might find our article on
“The Right Render for Wet Climates – From Venice to England“
particularly useful. And as always, feel free to get in touch if you need expert advice!
Happy lime plastering!
Mick
Building Conservation Specialist at Core Conservation